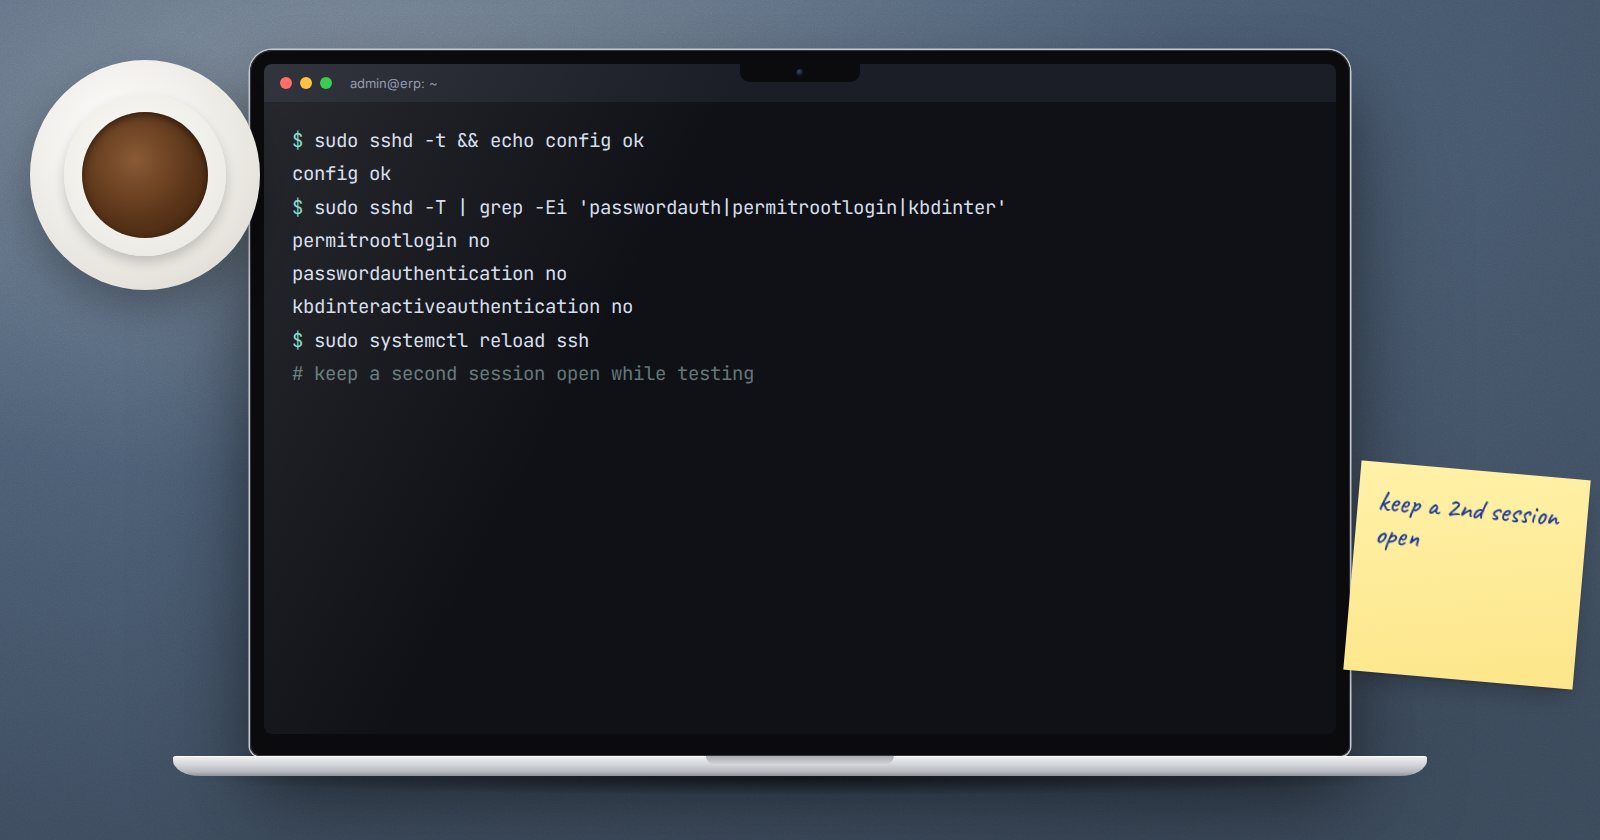
SSH is the front door to your ERPNext server. Anyone who gets in with enough rights can read the whole database, copy backups or delete everything. Hardening SSH is a few small changes, but one mistake can lock you out, so the order matters.
Golden rule: keep a session open
Before changing any SSH setting, open two SSH sessions to the server. Make changes in one. Test a fresh login from a third terminal. Only close the original sessions once the new login works. If something is wrong, you still have a way in to fix it.
Also make sure you have your hosting provider's console access available as a last resort.
Step 1: Use named accounts
Each administrator should have their own Linux user, not a shared login. That way logs show who did what, and you can remove one person's access without changing everyone's.
sudo adduser jane
sudo usermod -aG sudo jane
Only give sudo to people who need it.
Step 2: Switch to SSH keys
On each administrator's own computer:
ssh-keygen -t ed25519
ssh-copy-id jane@your-server
Protect the private key with a passphrase. The private key never leaves the person's computer; only the .pub file goes to the server. Test that the key login works before going further.
Step 3: Turn off password and root logins
On current Ubuntu releases, the main SSH configuration includes every file in /etc/ssh/sshd_config.d/. Create a small file there rather than editing the main one:
sudo nano /etc/ssh/sshd_config.d/10-hardening.conf
with:
PasswordAuthentication no
KbdInteractiveAuthentication no
PermitRootLogin no
SSH uses the first value it reads for each setting, and other files in that folder, such as ones created by cloud images, may set these too. So check the result rather than assuming.
Step 4: Test, then reload
sudo sshd -t
sudo sshd -T | grep -Ei "passwordauthentication|permitrootlogin|kbdinteractive"
sshd -t checks the configuration for errors; it prints nothing if all is well. sshd -T prints the settings SSH will actually use. Only when both look right:
sudo systemctl reload ssh
Then, from a new terminal, log in with your key. Also try a password login to confirm it is refused.
Step 5: Limit who can reach SSH
- Allow SSH only through the firewall, and where possible only from known IP addresses, such as your office or VPN.
- Use fail2ban or similar to block addresses that keep failing to log in.
- Bench has
bench setup ssh-portto move SSH to another port. That reduces log noise from automated scans, but it is not a substitute for keys and a firewall.
Step 6: Clean up regularly
When someone leaves or a laptop is lost:
- Remove their public key from
~/.ssh/authorized_keyson every server. - Lock or remove their Linux account:
sudo usermod -L jane. - Rotate any shared secrets they knew, such as the MariaDB root password.
Review authorized_keys files every quarter, alongside your ERPNext user access review. Every key should map to a person you can name.
Watch the logs
sudo journalctl -u ssh --since today
Repeated failures from one address are normal internet noise. Successful logins you cannot explain are not.
SSH checklist
- [ ] Two sessions open while making changes
- [ ] Named accounts,
sudoonly where needed - [ ] Key login tested for every administrator
- [ ] Password and root login disabled
- [ ]
sshd -tclean andsshd -Tconfirms the settings - [ ] SSH limited by firewall, failed attempts blocked
- [ ] Keys and accounts removed promptly for leavers
- [ ] Quarterly review of
authorized_keys
Users, groups, permissions and services are covered from first principles in the Linux for ERPNext: Foundations course.