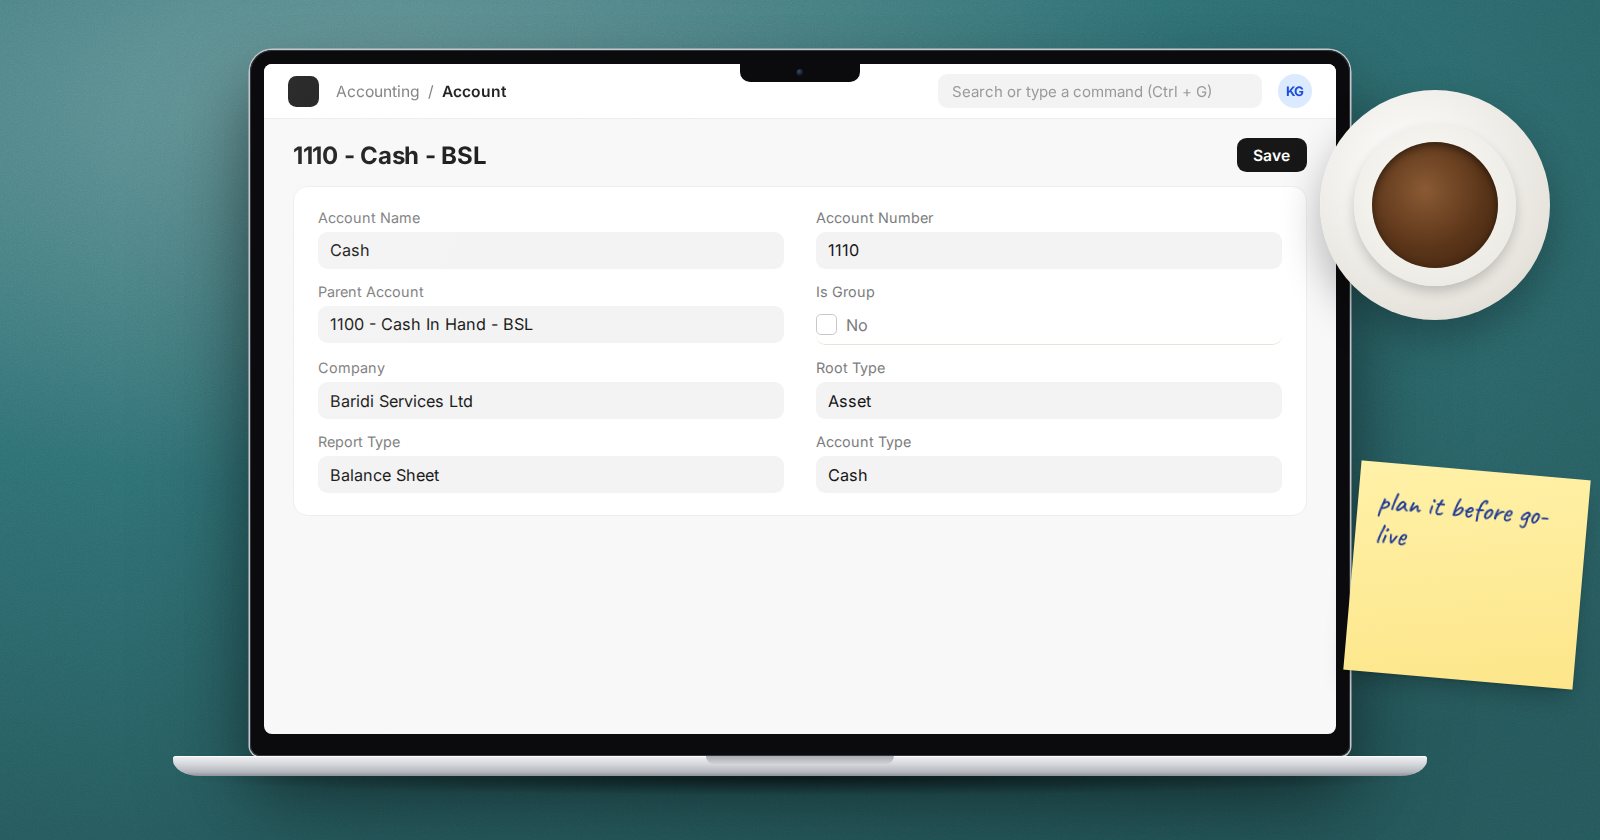
The chart of accounts is the one part of ERPNext that is expensive to change later. Once transactions exist, many changes are blocked, and the ones that are allowed leave history that no longer matches your structure. An hour of planning before go-live saves weeks of reclassifying journals afterwards.
Group accounts and ledger accounts
Every account in ERPNext is either a group or a ledger, set by the Is Group checkbox.
- Group accounts only hold other accounts. You cannot post to them. They exist so reports can roll balances up.
- Ledger accounts receive postings from invoices, payments and journals.
ERPNext enforces this. You cannot set a ledger as the parent of another account, an account with transactions cannot be converted to a group, and an account with child accounts cannot become a ledger. So decide early where you need detail.
Root type and report type
The five root types are Asset, Liability, Equity, Income and Expense. They decide which statement an account appears on: the first three on the Balance Sheet, the last two on the Profit and Loss Statement. New accounts inherit the root type from their parent, which is why putting an account under the right group matters more than its name.
Account type is not decoration
The Account Type field tells ERPNext what an account is for, and many features depend on it:
- Receivable and Payable accounts carry party balances and drive the ageing reports.
- Bank and Cash accounts appear as payment accounts and in bank reconciliation.
- Tax accounts can be used in tax templates.
- Stock, Stock Received But Not Billed and Cost of Goods Sold support perpetual inventory.
- Temporary is what the Opening Invoice Creation Tool looks for.
An expense account wrongly typed as Payable, or a bank account left without the Bank type, causes confusing behaviour in forms later.
Use account numbers
The Account Number field lets you number accounts, and ERPNext shows the number in front of the name in lists and reports. Numbers keep the tree in a predictable order and make it easier to talk about accounts with auditors. Each number must be unique within the company.
Standard template or your own
When you create a company, you can start from a standard template or from an existing company. For many businesses the standard chart is a reasonable base: rename, add and disable rather than rebuild.
If your auditors require a specific structure, use the Chart of Accounts Importer. Download its template, fill in your accounts, attach the file and review the preview tree before importing. The importer only works for a company with no transactions yet; if GL entries exist, it refuses. That makes it a tool for setup, not for restructuring a live company.
Set the company defaults
After the tree is ready, open the Company and fill in the default accounts: Default Receivable Account, Default Payable Account, Default Income Account, Default Cost of Goods Sold Account, Round Off Account, Write Off Account and Exchange Gain / Loss Account. Missing defaults are a common reason a first invoice fails to submit.
Common mistakes to avoid
- Creating one ledger per customer or supplier. Parties are tracked inside the receivable and payable accounts, so you do not need separate accounts for them.
- Making the tree too deep. Three or four levels are enough for most companies.
- Creating accounts that only exist to separate branches or departments. Use cost centers or accounting dimensions for that instead.
- Leaving the account currency blank on foreign currency bank accounts. Currency cannot be changed after entries are made in another currency.
Try it
On a test company, open the Chart of Accounts tree. Add a group under Expenses, then two ledgers beneath it with account numbers. Try to post a journal to the group and note the error. Then disable one ledger instead of deleting it.
The Accounting Essentials course covers the chart of accounts together with the everyday postings that depend on it.