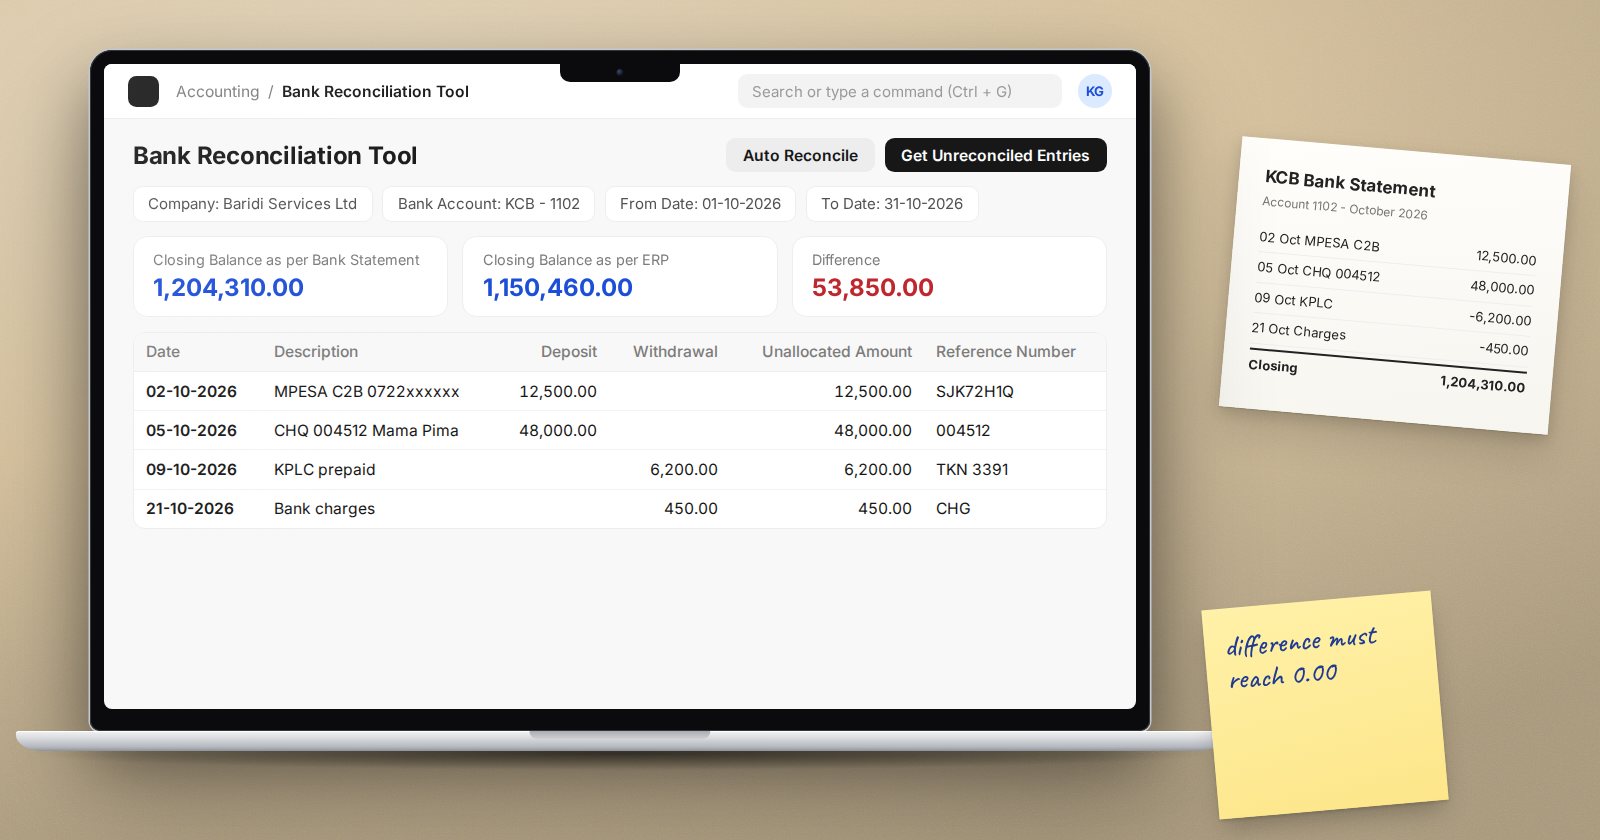
Bank reconciliation proves that what ERPNext says is in the bank is what the bank says is in the bank. ERPNext gives you a dedicated Bank Reconciliation Tool that works from imported statement lines rather than ticking cheques by hand. Here is how to use it properly.
Before you start: set up the Bank Account
The tool works with Bank Account records, not directly with ledger accounts. For each real bank account:
- Create a Bank record for the bank itself if it does not exist.
- Create a Bank Account, tick Is Company Account, choose the Company and link the Company Account, which is the ledger account in your chart.
The form itself notes that setting the account as a Company Account is necessary for bank reconciliation. This is the step most often missed.
Step 1: Import the statement
Each line of the bank statement becomes a Bank Transaction in ERPNext, with a date, description, reference, and a deposit or withdrawal amount.
From the Bank Reconciliation Tool, use Upload Bank Statement. It opens a Bank Statement Import where you download the template, fill it from your bank's export, attach the file and map the columns. CSV and Excel files work, and there is an option for MT940 files. Leave "Submit After Import" ticked so the transactions are ready to reconcile.
Step 2: Load the period
In the tool, choose the Company, Bank Account, From Date and To Date, then enter the Closing Balance from the bank statement. Click Get Unreconciled Entries.
Three cards appear at the top: "Closing Balance as per Bank Statement", "Closing Balance as per ERP" and "Difference". Your goal is a difference of zero.
Step 3: Try Auto Reconcile
The Auto Reconcile button looks for vouchers that match each unreconciled bank transaction and links them. It reports which transactions were fully or partially reconciled. Use it first, then deal with what remains by hand.
Step 4: Reconcile line by line
For each remaining transaction, click its action button. The dialog offers three actions:
- Match Against Voucher - choose from suggested Payment Entries, Journal Entries and other vouchers. Use the filters to widen the search if the right one is not shown.
- Create Voucher - create a Payment Entry or Journal Entry directly from the bank line. This is right for bank charges, interest and receipts you have not recorded yet.
- Update Bank Transaction - correct the reference number or party on the bank line itself.
When a transaction is fully allocated, its status becomes Reconciled and the linked voucher gets a clearance date.
Step 5: Prove it with the report
Run the Bank Reconciliation Statement report for the same bank account and end date. It shows:
- "Bank Statement balance as per General Ledger"
- "Outstanding Cheques and Deposits to clear" - your timing differences
- "Cheques and Deposits incorrectly cleared"
- "Calculated Bank Statement balance"
The calculated balance must equal the bank's closing balance. Save or print it for the month-end file.
Common causes of a difference
- A payment posted to the wrong bank account in ERPNext.
- The same receipt recorded twice, once by sales and once by finance.
- Bank charges never recorded.
- A cheque dated in one month but cleared in the next, with the wrong clearance date.
- Statement lines imported twice. Check for duplicate Bank Transactions before you start matching.
Where Bank Clearance fits
The older Bank Clearance tool lets you enter clearance dates against vouchers without importing a statement. It is still available and is handy for small accounts with few lines, but statement-based reconciliation leaves a better audit trail.
Try it
Import one week of a real statement into a test company, run Auto Reconcile, and resolve each remaining line using all three actions. Then compare the report with the bank's balance.
Reconciling bank and cash every month is a core part of the Accounting Professional course.