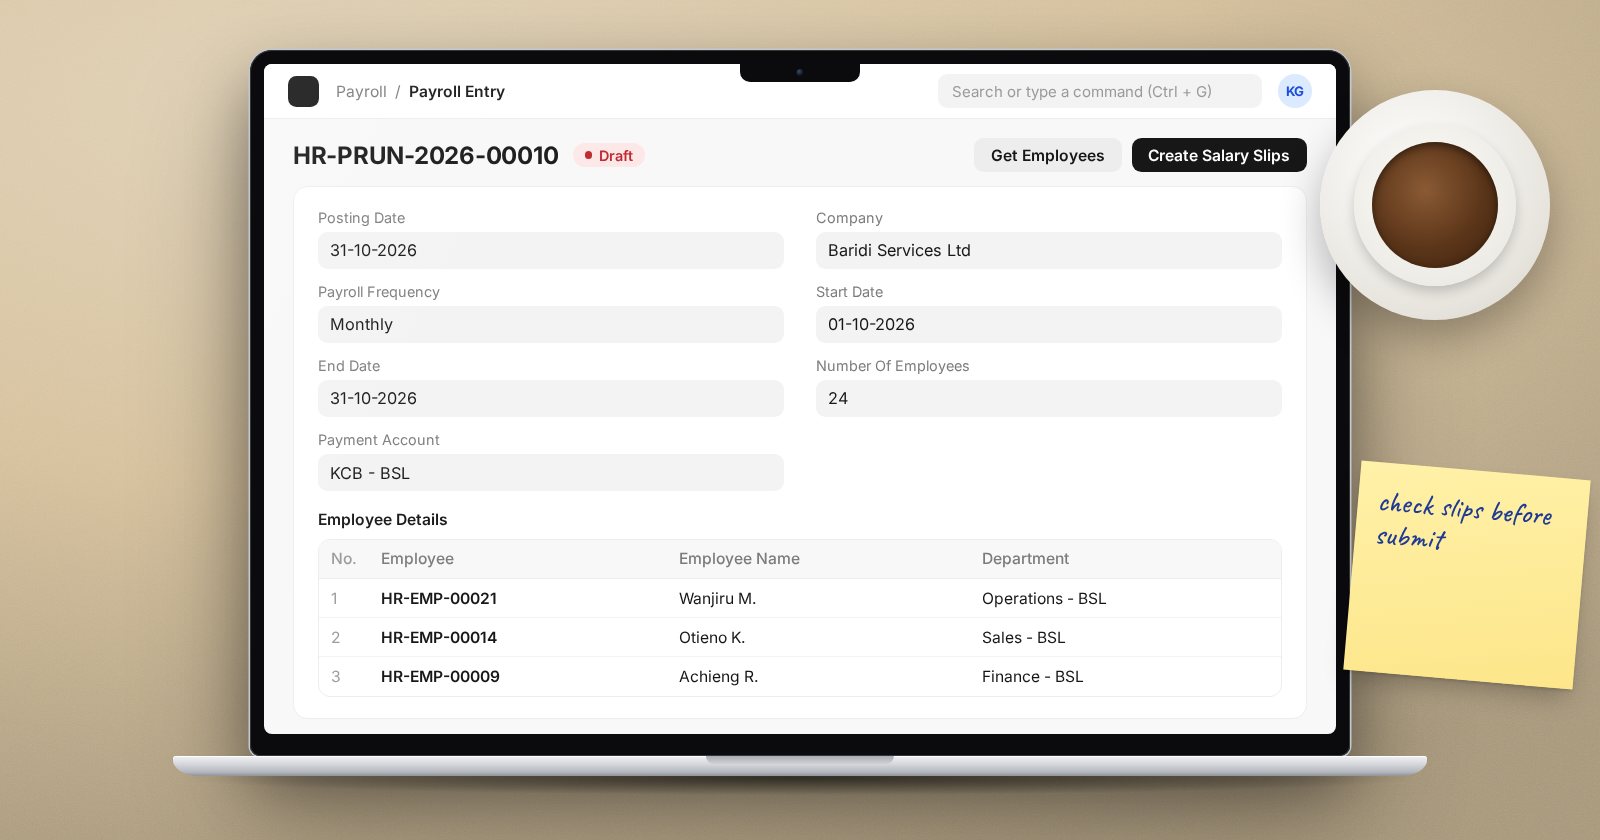
Payroll in ERPNext runs through one document: the Payroll Entry. It gathers the employees, creates their salary slips, posts the accounting and raises the payment. Following the same steps every month makes payroll predictable and leaves a clean trail for audit.
Before you start
Payroll is only as good as what feeds it. Confirm that:
- every employee being paid has a current Salary Structure Assignment;
- leave applications for the month are approved and submitted;
- attendance is complete, if payroll is based on attendance;
- one-off items such as bonuses and recoveries are entered as Additional Salary.
Step 1: create the Payroll Entry
Create a new Payroll Entry and fill in:
- Posting Date - the date of the accounting entries.
- Company, Currency and Payroll Payable Account.
- Payroll Frequency (usually Monthly), Start Date and End Date.
- Cost Center and Payment Account (the bank or cash account salaries are paid from).
- Optional filters: Branch, Department, Designation or Grade, if you run payroll in groups.
Tick Validate Attendance if you want ERPNext to list employees with unmarked attendance before you go further.
Step 2: Get Employees
Save, then click Get Employees. ERPNext lists everyone matching the filters who has an active assignment for the period. Check the count against your headcount. Missing people usually lack an assignment or have the wrong company or payroll payable account on it.
Step 3: Create Salary Slips
Click Create Salary Slips. This submits the Payroll Entry and creates a draft salary slip for each employee. For more than 30 employees the work runs in the background and the status shows Queued; wait for it to finish.
Step 4: check the slips
This is the step that matters most. Before submitting:
- Run the Salary Register report for the period. It shows every slip with each component as a column.
- Compare totals with last month. Explain every large movement.
- Open slips for new joiners, leavers and anyone with unpaid leave, and check Working Days, Payment Days and Leave Without Pay.
- Fix problems at the source (assignment, leave, additional salary), never by typing over numbers on the slip. While the slips are still drafts, cancelling the Payroll Entry deletes its salary slips, so you can amend it and create them again from corrected data.
Step 5: Submit Salary Slip
Click Submit Salary Slip. ERPNext submits all slips and posts an accrual Journal Entry: earnings are debited to expense accounts, deductions are credited to their liability accounts, and net pay is credited to the payroll payable account. If you use Employer Contribution components, a separate journal records those.
Step 6: Make Bank Entry
Click Make Bank Entry. ERPNext creates a Bank Entry (or Cash Entry, if the payment account is cash) that debits payroll payable and credits the payment account. The Bank Remittance report helps prepare the bank upload file.
Step 7: pay statutory deductions
The deductions now sit in their liability accounts. Pay each authority by its deadline with a Payment Entry or Journal Entry against those accounts.
Try it
Run a payroll for a test company with three employees: one full month, one new joiner, one with a day of unpaid leave. Check the Salary Register, submit, make the bank entry, and confirm the payroll payable account balances to zero afterwards.
The full monthly cycle, including Kenyan statutory deductions, is taught in the Payroll course.