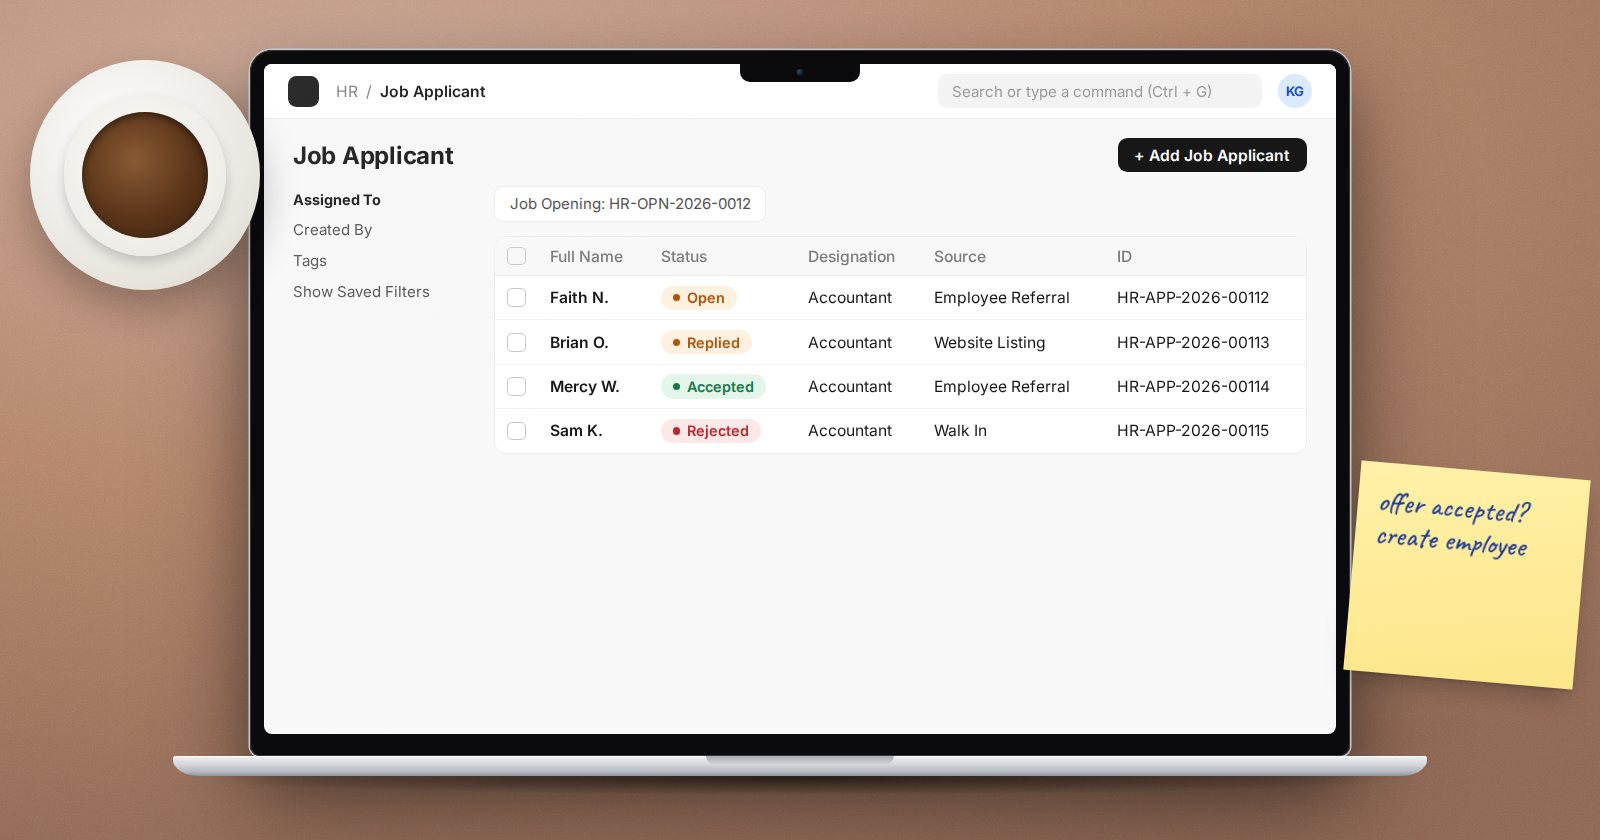
Many companies recruit through email threads and spreadsheets, then type the new hire's details into ERPNext on day one. The recruitment module in ERPNext HRMS keeps the whole trail in one place, from the manager's request to the employee record, so nothing is retyped and every decision is recorded.
The flow at a glance
- Job Requisition - a manager asks for a position.
- Staffing Plan (optional) - the approved headcount and budget.
- Job Opening - the advertised vacancy.
- Job Applicant - each candidate.
- Interview and Interview Feedback - the assessment.
- Job Offer - the offer and its acceptance.
- Employee - created from the accepted offer.
Step 1: Job Requisition
The requesting manager records the Designation, Department, No. of Positions, Expected Compensation, Expected By date and a Reason for Requesting. Status moves from Pending to Open & Approved (or Rejected, On Hold, Filled, Cancelled). Once approved, use Create Job Opening, or Associate Job Opening if one already exists.
Step 2: Staffing Plan
A Staffing Plan sets planned vacancies and estimated cost per designation for a department and period. You can pull approved requisitions in with Get Job Requisitions. If HR Settings has Check Vacancies On Job Offer Creation ticked, ERPNext checks offers against the plan, which stops hiring beyond approved headcount.
Step 3: Job Opening
A Job Opening carries the Job Title, Designation, Description, Employment Type, Location, Closes On date and an optional salary range. Tick Publish on website to list it on your site's jobs page, where candidates can apply online. Tick Publish Salary Range only if you intend to show it. A daily job closes openings whose closing date has passed.
Step 4: Job Applicants
Each candidate is a Job Applicant with name, email, phone, Job Opening, Source and an attached CV. Online applications create these automatically. From the applicant you can Shortlist, Reject or Schedule Interview. Use the Applicant Rating for a quick first screen.
Step 5: Interviews
An Interview links the applicant and job opening with an Interview Type, a Scheduled On date, times and the Interviewers. Each interviewer submits Interview Feedback: a skill assessment, an average rating, written feedback and a result of Cleared or Rejected. The interview compares the Obtained Average Rating with the Expected Average Rating. HR Settings can send interview reminders and feedback reminders.
Step 6: Job Offer
From the applicant, Create Job Offer. Set the Offer Date, Designation, terms (from a Job Offer Term Template if you have standard terms) and print it on your letterhead. Track the status: Awaiting Response, Accepted, Rejected or Cancelled.
Step 7: create the employee
When the offer is submitted with status Accepted, Create Employee appears. The new Employee links back to the Job Applicant and Job Offer, keeping the recruitment history attached. Alternatively, start an Employee Onboarding from the offer to run joining tasks first.
Measuring the process
The Recruitment Analytics report shows openings against applicants and offers, which helps answer "where are we on this hire?" without a meeting.
Try it
Raise a test requisition, create an opening from it, add two applicants, schedule an interview for one with feedback, and take that candidate through an accepted offer to an Employee record. Then open the employee and confirm the Job Applicant and Job Offer fields are filled.
Recruitment and the rest of the employee lifecycle are covered in the HR Essentials course.