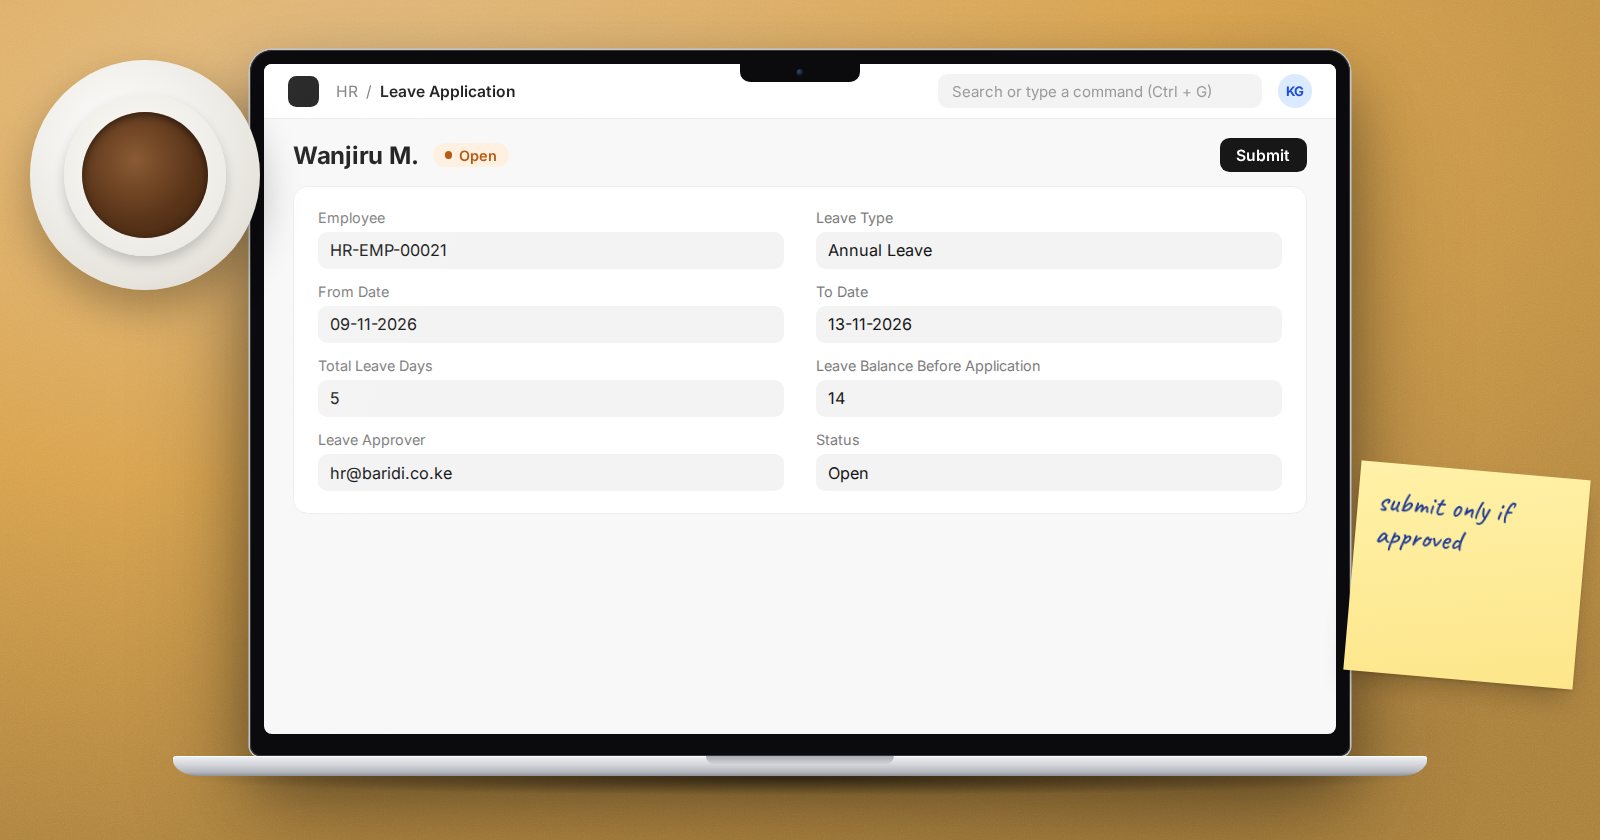
A leave request in ERPNext is a Leave Application. It moves through a short life: the employee creates it, an approver decides, and the decision is submitted. Most problems come from not knowing who the approver is or why the Submit button is refusing to work. This article clears both up.
The life of a leave application
- The employee (or HR on their behalf) creates a Leave Application with the Leave Type, From Date, To Date and a Reason. The form shows Leave Balance Before Application and Total Leave Days. Tick Half Day for a half day and choose the Half Day Date.
- The application is saved with Status set to Open. The Leave Approver field holds the person who will decide.
- The approver opens it, sets Status to Approved or Rejected, and submits.
The key rule: only applications with status Approved or Rejected can be submitted. If you try to submit an Open application, ERPNext stops you. Submitting an approved application is what deducts the days from the balance and, if attendance is in use, marks the employee On Leave for those dates.
Where the approver comes from
The Leave Approver on the application is filled from the employee record. There are two places to set it:
- On the Employee, the Leave Approver field (a user).
- On the Department, a Leave Approver table listing one or more users for that department.
The approver must have a user account and a role that can approve leave, typically Leave Approver.
Settings that change the behaviour
Open HR Settings and review:
- Leave Approver Mandatory In Leave Application - when ticked, an application cannot be saved without an approver.
- Prevent self approval for leaves even if user has permissions - stops an HR manager approving their own leave.
- Restrict Backdated Leave Application with Role Allowed to Create Backdated Leave Application - limits who can apply for past dates.
- Send Leave Notification, with templates for approval and status emails - so the approver and the employee are told without having to check the system.
- Show Leaves Of All Department Members In Calendar - helps approvers see who else is away.
Blocking busy dates
A Leave Block List marks dates when leave should not be taken, such as stock-take days or year-end close. It can be linked to a department, and you can list users who are still allowed to approve on those dates. Anyone else gets an error when approving leave on a blocked date.
Common problems and fixes
- The approver cannot see the application. Check that the approver user is the one on the employee or department, and that they have the right role.
- Submit is greyed out or errors. Status is still Open. Approve or reject first.
- "Application period cannot be outside leave allocation period." The employee has no allocation covering those dates. Allocate leave for the period.
- Balance looks wrong. Check the holiday list and whether the leave type includes holidays.
Try it
Set up a test department with a Leave Approver, create an employee in it, and apply for two days of leave. Log in as the approver, approve and submit. Then open the Leave Ledger report and find the entry the submission created. Seeing the ledger entry confirms the balance really moved.
Approval flows, leave and attendance are covered in the HR Essentials course.