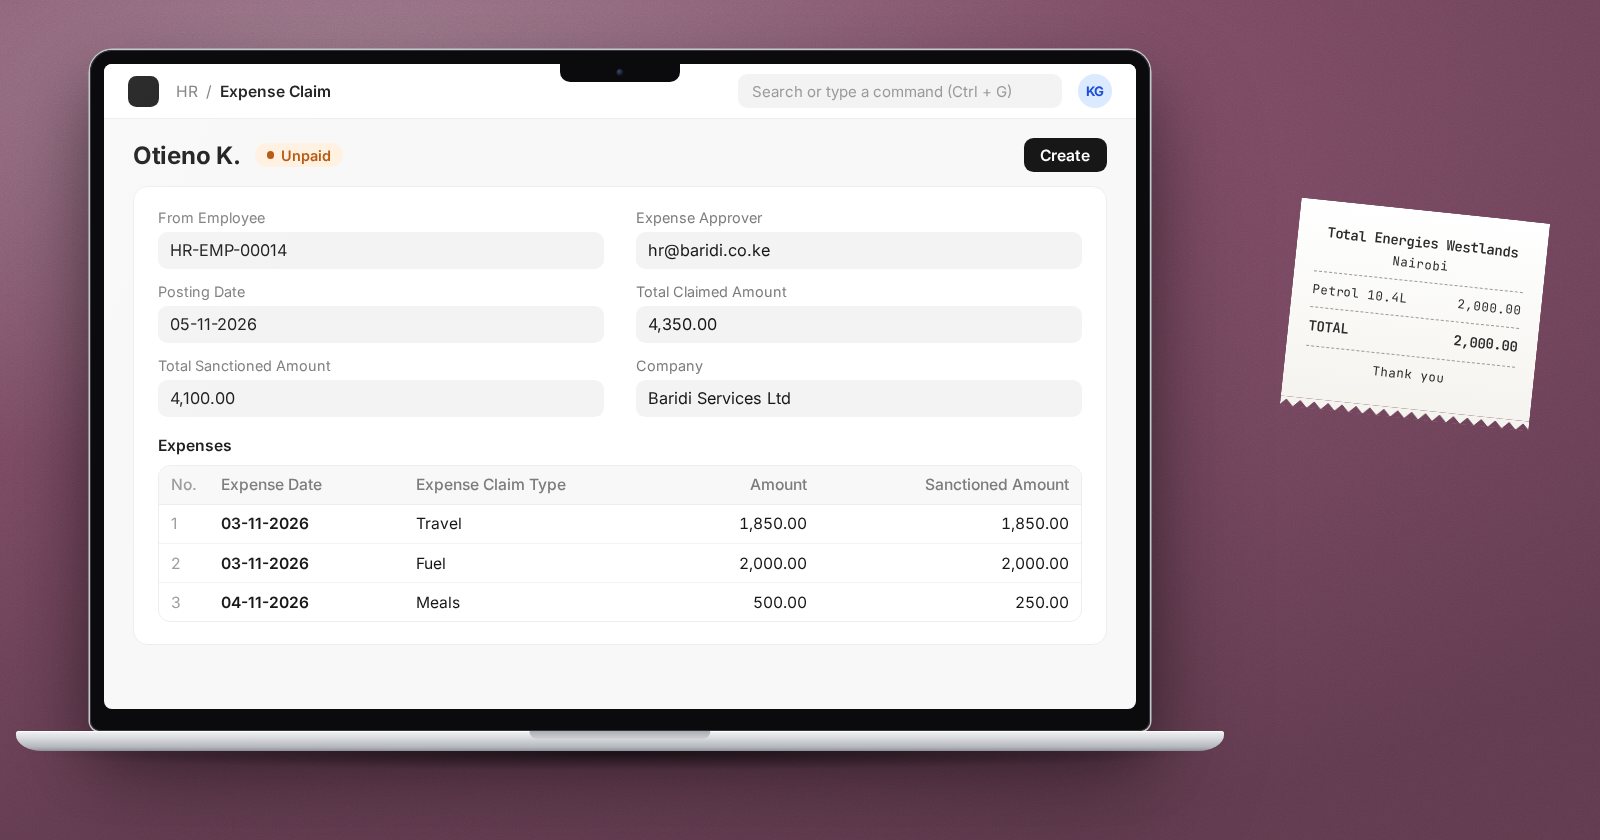
Staff spend company money all the time: fuel, client lunches, bus fare to a site, a replacement cable. An Expense Claim in ERPNext records what was spent, routes it for approval, posts it to the right expense accounts and tracks repayment to the employee. Done properly, it replaces the envelope of receipts on the finance desk.
One-time setup
Expense Claim Types
Create an Expense Claim Type for each category you want to track, such as Travel, Fuel, Meals or Accommodation. In its Accounts table, set the Default Account for each company. This is the expense account the claim line will post to, so get it agreed with finance first.
The payable account
On the Company, the HR & Payroll tab holds the Default Expense Claim Payable Account. This is the liability that records what the company owes the employee until it is paid. Many charts of accounts use an "Employee Payables" or similar account for this.
Approvers
Set the Expense Approver on each Employee, or list approvers on the Department. In HR Settings, consider:
- Expense Approver Mandatory In Expense Claim - blocks claims without an approver.
- Prevent self approval for expense claims even if user has permissions - stops managers approving their own claims.
Making a claim
- The employee creates an Expense Claim. From Employee and the approver fill in.
- In the Expenses table, each row has an Expense Date, Expense Claim Type, Description and Amount. Attach the receipt image to the claim.
- Optionally set a Project or Cost Center, on the claim or per line, so the cost lands where it belongs.
- If taxes apply, use the Expense Taxes and Charges table.
- Save. The approver is notified.
Approval and sanctioned amounts
The approver reviews each line and can reduce the Sanctioned Amount below the claimed Amount, for example where policy caps a meal allowance. They then set Approval Status to Approved or Rejected and submit. A claim can only be submitted once its approval status is Approved or Rejected.
On submission of an approved claim, ERPNext debits the expense accounts and credits the payable account against the employee.
Paying the employee
From the submitted claim, use Create > Payment to raise a Payment Entry against the employee. Choose the bank or cash account and submit. The claim's status moves to Paid once the full amount is reimbursed.
If the employee was given an advance beforehand, link it in the Advances table so the claim is settled against it rather than paid again.
Projects and profitability
Claims linked to a project feed the project's Total Expense Claim figure, and HRMS includes that in the project's gross margin. Tagging claims to projects is the simplest way to see the true cost of client work.
Useful checks
- The Unpaid Expense Claim report lists claims still owed to staff.
- View > Accounting Ledger on a claim opens the General Ledger entries it created.
Try it
Create two claim types with default accounts, then submit a test claim with two lines, one partly sanctioned. Pay it with Create > Payment and confirm that the Unpaid Expense Claim report no longer shows it.
Expense claims sit between HR and accounts; the HR Essentials course covers the HR side and Accounting Essentials the postings.