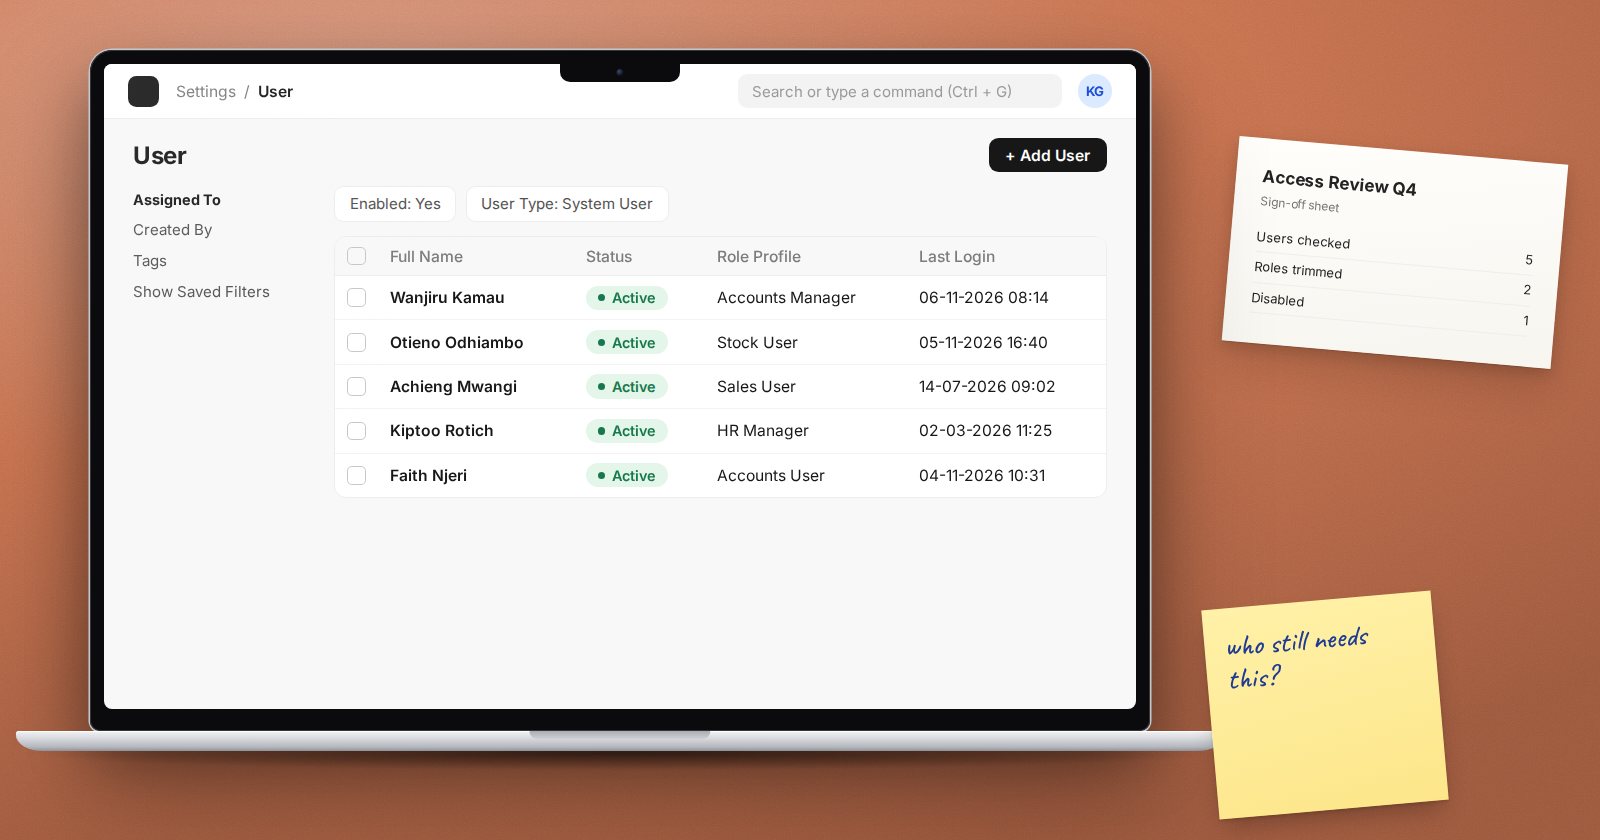
Access in an ERP system only grows unless someone trims it. People change jobs and keep their old roles, temporary access becomes permanent, and leavers' accounts stay enabled. A short, regular access review keeps ERPNext matched to how the business actually works. Quarterly is a sensible starting rhythm.
Who should do it
The review needs two people: someone who can read ERPNext's user and role data (usually the system administrator), and the business owners who can say whether access is right. IT can tell you that Jane has the Accounts Manager role. Only the finance manager can say whether she should.
Step 1: List every enabled user
Open the User list, filter for enabled users, and add the columns you need: full name, user type, role profile and Last Login. Export it to a spreadsheet. This is your review sheet.
Mark three groups straight away:
- Leavers: anyone no longer with the organisation. Disable them now; don't wait for the end of the review.
- Idle accounts: no login for a long period. Ask whether they are still needed.
- Shared or generic accounts: names like "stores" or "cashier1". Every person should have their own account so the audit trail means something.
Step 2: Count the powerful roles
Some roles carry much more risk than others. Count how many people hold:
- System Manager, which can change permissions, settings and users
- finance roles that can submit payments and journal entries
- roles that can approve purchases or change supplier bank details
Every System Manager should be someone who needs it for their job, and the number should be small. Day-to-day users should not hold it "just in case".
Step 3: Check what each role can do
For any user whose access you are unsure about, the User Doctype Permissions report shows, for one user, which document types they can read, write, create, delete, submit, cancel and export. Permitted Documents For User shows which records of a type they can see. Both are available to System Managers.
Ask the business owner, department by department: does this person need to do all of this? Remove what is not needed. This is the principle of least privilege: each person gets the access their job requires, and no more.
Step 4: Review sharing and API keys
- The Document Share Report lists documents shared directly with individual users. Old shares can quietly bypass role-based access.
- On the user list, check which users have an API key. Each one should belong to a known integration with a named owner.
Step 5: Check what changed since last time
Frappe records changes to user roles, role profiles, user permissions and role permissions in the Permission Log. Review the entries since your last review. Every change should match a request someone approved. Activity Log shows logins and logouts if you need to check when an account was used.
Step 6: Record and sign off
Save the reviewed spreadsheet with the decisions, who made them and the date. Note the changes you made. Auditors usually care less about a perfect result than about evidence that the review happened and was acted on.
Make the next review easier
- Use Role Profiles for standard jobs, so a new storekeeper gets exactly the storekeeper roles.
- Tie account changes to HR events: joiner, mover, leaver.
- Keep a simple register of who approved each powerful role.
Access review checklist
- [ ] Enabled user list exported with last login dates
- [ ] Leavers disabled immediately
- [ ] Idle and shared accounts resolved
- [ ] System Manager holders justified and few
- [ ] Business owners confirmed each department's access
- [ ] Document shares and API keys reviewed
- [ ] Permission Log changes matched to approvals
- [ ] Decisions recorded with names and date
Roles, role profiles and user permissions are covered hands-on in our ERPNext Administration Without Code course.