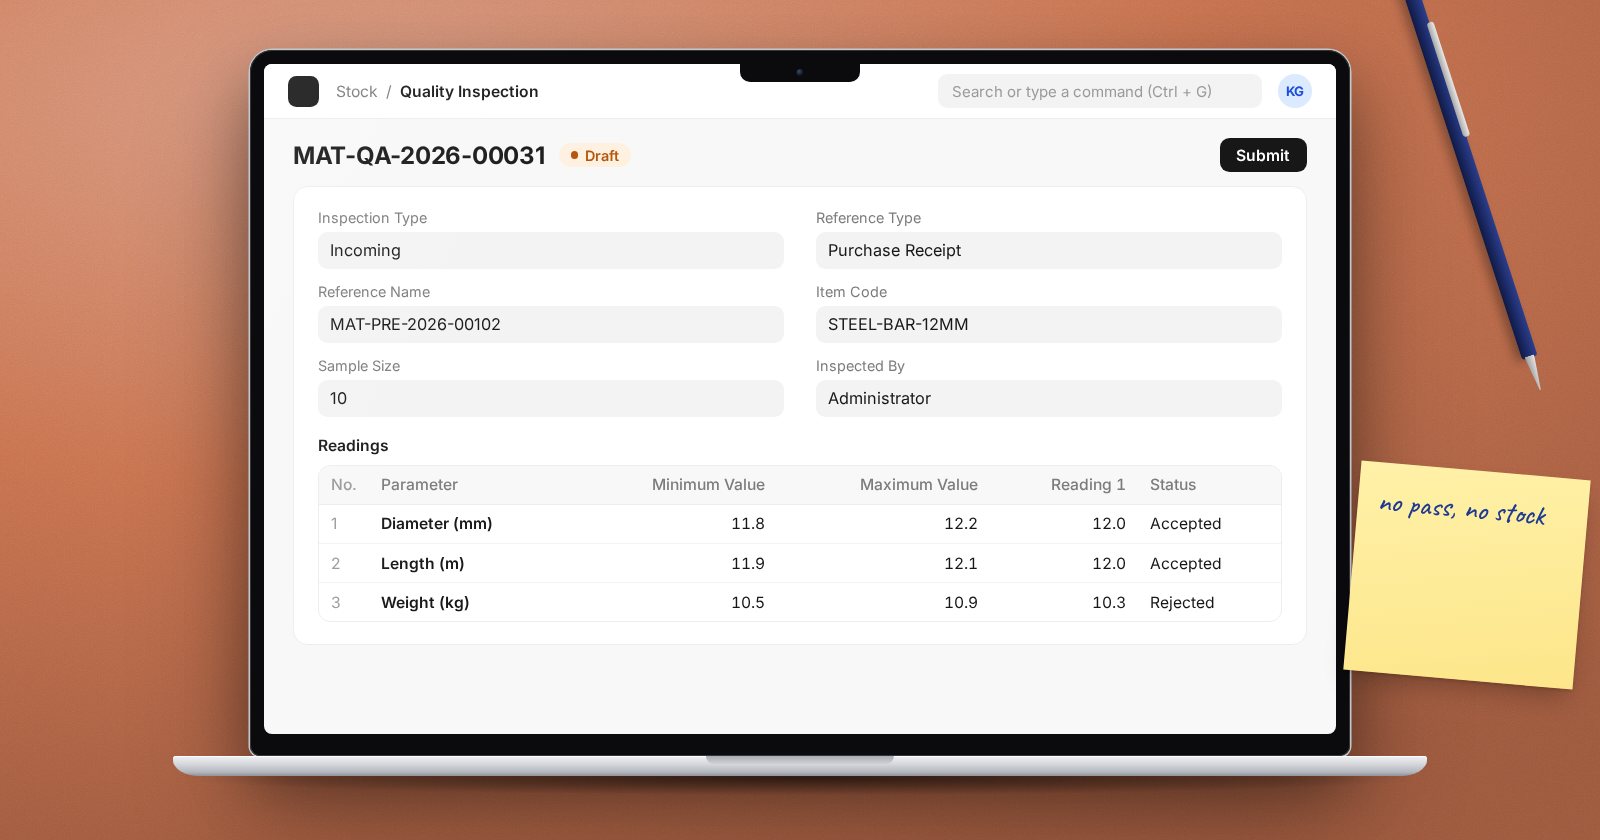
Accepting goods without checking them means paying for problems you only find later, when a customer complains or a production run fails. ERPNext can make inspection a required step: no passed inspection, no stock.
Step 1: Decide which items need inspection
Not everything needs it. Inspect items where a defect is costly: raw materials for production, food, medical supplies, high-value parts. Packaging and stationery usually do not.
On each item that does, open the Item's Quality tab and tick Inspection Required before Purchase. There is also Inspection Required before Delivery for outgoing checks.
Step 2: Build an inspection template
A Quality Inspection Template lists the parameters to check, so every inspector checks the same things. Search for Quality Inspection Template, give it a name such as "Maize - incoming", and add rows in the Item Quality Inspection Parameter table: moisture, foreign matter, colour, weight per bag. Each parameter is a Quality Inspection Parameter record you create once and reuse. For numeric parameters set a Minimum Value and Maximum Value; for visual checks, an Acceptance Criteria Value.
Link the template to the item in the Quality Inspection Template field on the Item's Quality tab. ERPNext then loads those readings into each new inspection.
Step 3: Inspect on receipt
- Create the Purchase Receipt from the Purchase Order as usual and save it as a draft. On saving, ERPNext shows a note that a Quality Inspection is required for the item.
- From the draft, use Create > Quality Inspection(s). ERPNext creates an inspection with Inspection Type Incoming, linked to the receipt and item, with the template's readings.
- The inspector fills in the Readings, the Sample Size, and sets the Status to Accepted or Rejected, then submits the inspection.
- The inspection is linked on the receipt row in the Quality Inspection field.
- Submit the Purchase Receipt.
What ERPNext enforces
When you submit a receipt for an item that needs inspection:
- If no inspection is linked, ERPNext stops the submission.
- If the inspection is not submitted, the Action if Quality Inspection is not submitted setting decides: Stop (the default) or Warn.
- If the inspection is rejected, Action if Quality Inspection is rejected decides, again Stop by default or Warn.
These are on the Quality tab of Stock Settings. The same tab has Allow to make Quality Inspection after Purchase / Delivery, which removes the requirement to inspect before submitting. Leave it off unless your process really inspects after stock is booked.
Handling partial rejections
Often only part of a delivery fails. The Purchase Receipt row has Received Quantity, Accepted Quantity and Rejected Quantity, plus a Rejected Warehouse. Put the failed units in Rejected Quantity and set a rejected-goods warehouse. Accepted stock goes into the normal warehouse; rejected stock is kept separately until it is returned to the supplier.
This keeps rejected goods out of available stock, while still recording that they arrived.
Tips
- Keep templates short. Five parameters that are always checked beat twenty that are skimmed.
- Make the inspector a named user, so the Inspected By field means something.
- Review the Quality Inspection Summary report to see which suppliers fail most often.
Checklist
- Inspection Required before Purchase ticked on critical items only
- A Quality Inspection Template linked to each of those items
- Stock Settings actions left on Stop
- A rejected-goods warehouse set up and used on receipts
Running the full buying cycle, receipts included, is covered in the Procurement Essentials course.