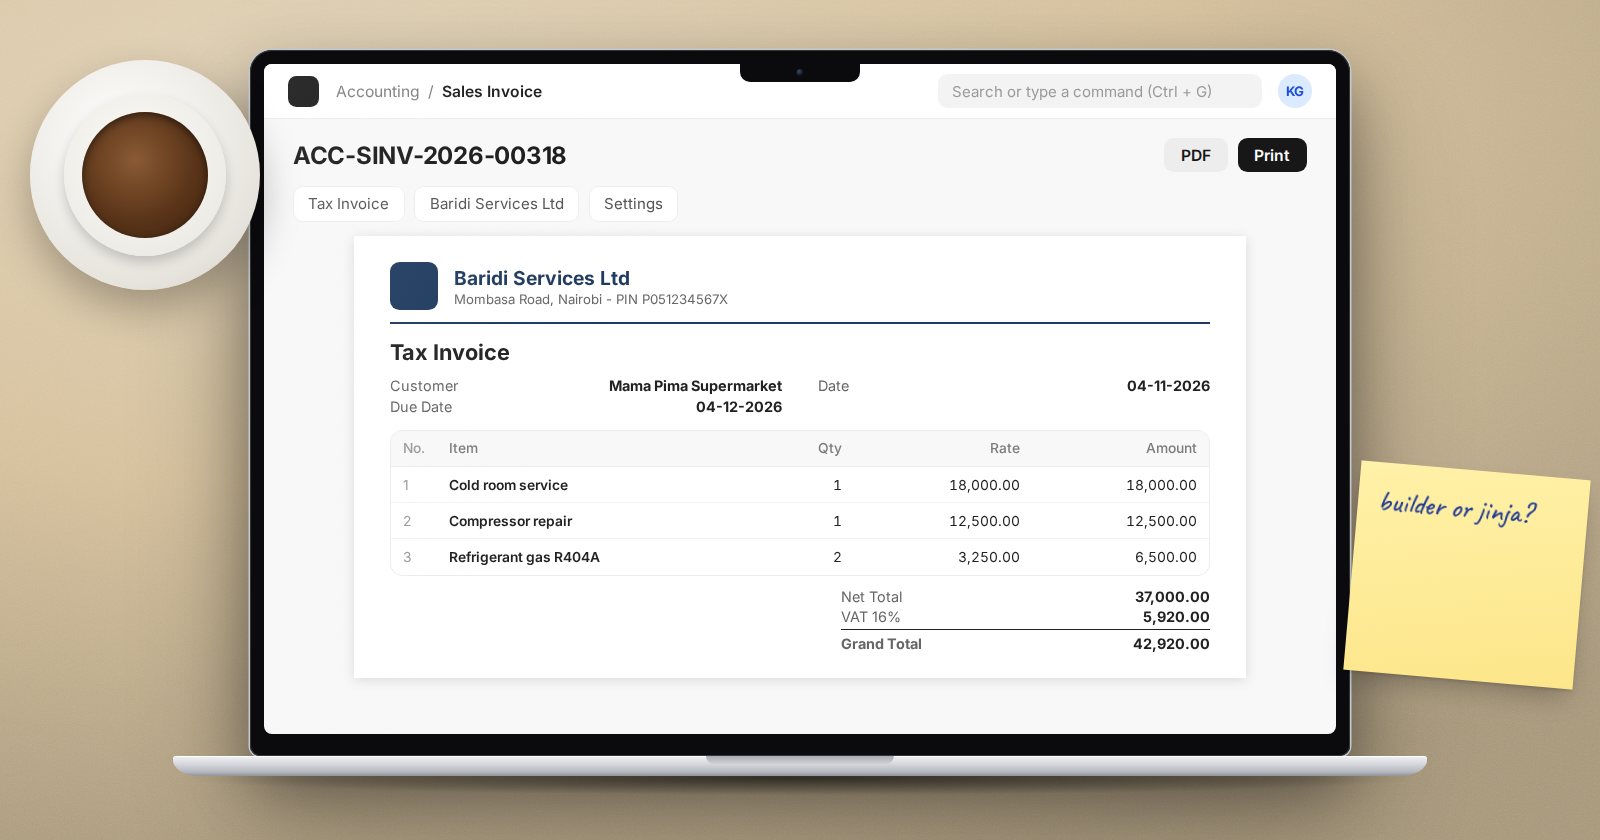
The invoice is the document your customers see most. ERPNext's standard print format is fine to start with, but most businesses soon want their own layout, wording and tax details. There are two ways to build one, and picking the right one first saves a rewrite later.
Option 1: the Print Format Builder
The builder is drag and drop. Search for Print Format Builder in the awesome bar, choose the DocType and start a new format. You drag fields and sections onto the page, set labels, and hide what you do not need.
Use the builder when:
- the layout follows the form's structure (header fields, item table, totals),
- you mostly need to hide, reorder or relabel fields,
- the person maintaining it is not comfortable with HTML.
The builder also takes custom CSS, a Google Font name, font size and page margins, which covers a lot of branding work without touching templates.
Option 2: a Jinja print format
When the layout is far from the form, such as a delivery note with signatures in a grid, a statutory layout, or columns calculated from several fields, write it in HTML with Jinja. Create a new Print Format, set the DocType, tick Custom Format, keep Print Format Type as Jinja, and write your template in the HTML field.
A small working start for Sales Invoice:
<h2>{{ _("Tax Invoice") }} {{ doc.name }}</h2>
<p>{{ doc.customer_name }}<br>{{ frappe.utils.format_date(doc.posting_date) }}</p>

  {% for row in doc.items %}

  {% endfor %}
<table class="table table-bordered">
  <tbody><tr>
    <th>{{ _("Item") }}</th>
    <th class="text-right">{{ _("Qty") }}</th>
    <th class="text-right">{{ _("Amount") }}</th>
  </tr><tr>
    <td>{{ row.item_name }}</td>
    <td class="text-right">{{ row.get_formatted("qty") }}</td>
    <td class="text-right">{{ row.get_formatted("amount", doc) }}</td>
  </tr></tbody></table>
<p class="text-right"><b>{{ doc.get_formatted("grand_total") }}</b></p>
<p>{{ doc.in_words }}</p>
A few things this shows:
docis the document being printed, anddoc.itemsis its item table.get_formattedreturns the value formatted the way ERPNext shows it, with the right currency symbol and decimals. Passingdocfor a child row lets it find the invoice's currency._()marks text for translation, so the same format prints in the customer's language when you set one.- Common helpers from
frappe.utils, such asformat_date, are available inside the template.
Letter heads stay separate
Do not hard-code your logo and address in every format. Put them in a Letter Head record and select it when printing, or set a default. The letter head content and footer can use doc too. One letter head change then updates every document type at once.
Make it the default
Once a format is ready, open Customize Form for the DocType and set Default Print Format. Users can still choose another from the print view, but the right one appears first.
Settings worth knowing
The Print Format record also has:
- Margin fields and Page Number position, for fitting pre-printed stationery.
- Show Absolute Values, which prints negatives as positives, useful on return documents.
- Default Print Language, for customers who need another language.
- PDF Generator, either wkhtmltopdf or chrome. The chrome option needs Chrome set up on the server (there is a
bench setup-chromecommand), so check with whoever runs your server before switching.
Habits that save rework
- Build and test on a test site with real-looking documents: long item names, many rows, discounts, and a return.
- Print to PDF and check the page breaks, not just the screen view.
- Keep logic out of the template where you can. If a value needs real calculation, store it in a field and print the field.
- Keep a copy of the HTML under version control or as a fixture in a custom app, so a careless edit is easy to undo.
Try it
- On a test site, create a Jinja print format for Sales Invoice using the template above.
- Print an invoice with several items and a tax row. Compare totals with the form.
- Add a Letter Head with your logo and print again.
- Set it as the Default Print Format in Customize Form.
Print formats, letter heads and the rest of the document setup are covered in ERPNext Administration Without Code.