Invoices by email, password resets, notifications and workflow approvals all depend on one thing: a working Email Account. If it is missing or wrong, ERPNext keeps queuing messages that never leave. Here is how to set it up properly and how to tell what went wrong.
Outgoing first
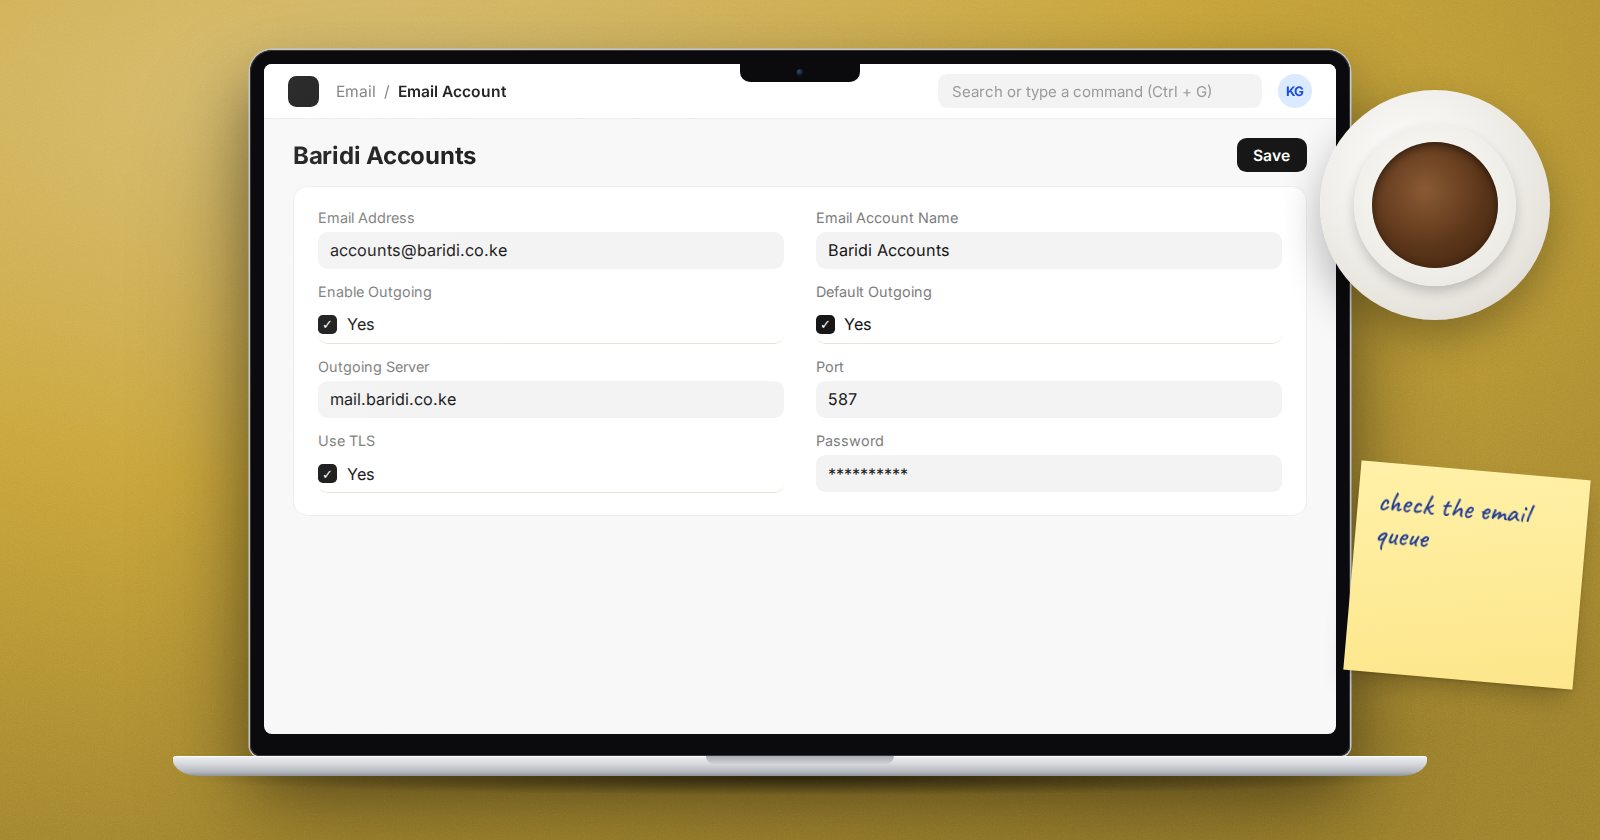
Search for "New Email Account". The fields that matter for sending:
- Email Address - the address mail will come from, such as accounts@yourcompany.co.ke.
- Password - or, for providers that require it, set Method to OAuth and connect through a Connected App.
- Service - choose your provider if it is listed (GMail, Outlook.com, Sendgrid and others) to fill in server settings. Otherwise leave it blank and enter them yourself.
- Enable Outgoing - ticked.
- Outgoing Server, Port, and Use TLS or Use SSL - from your mail provider. If you leave the port blank, ERPNext uses 465 when SSL is ticked and 587 when TLS is ticked.
- Default Outgoing - tick this on exactly one account. It is the account ERPNext uses when nothing more specific applies.
ERPNext tests the connection when you save. A save that fails with an authentication error usually means a wrong password, an app password requirement, or a provider that blocks basic login.
How ERPNext picks the sender
When a message is sent, ERPNext looks for an outgoing account in this order:
- One whose email address matches the sender of the message.
- One linked to the document's DocType through Append To (for replies on that kind of document).
- The Default Outgoing account.
If none exists, sending fails with a message asking you to set up a default outgoing account. That is the first thing to check on a new site.
Two related checkboxes control what customers see: Always use this email address as sender address and Always use this name as sender name. Tick them when you do not want staff names on outgoing mail.
Incoming, if you need it
Incoming mail lets ERPNext pull messages from a mailbox and attach them to documents. Tick Enable Incoming, enter the Incoming Server and port, and choose POP or Use IMAP.
With IMAP, add rows to the IMAP Folder table. Each row names a mailbox folder and, optionally, an Append To DocType. ERPNext only offers DocTypes that are set up to receive email; in ERPNext these include Issue, Lead, Opportunity and Purchase Invoice. A support@ inbox appended to Issue turns each new email into an Issue, and replies thread into the same Issue.
Mail is pulled by a scheduled job every ten minutes, so incoming email needs the scheduler running. Email Sync Option (ALL or UNSEEN) and Initial Sync Count control how much old mail is pulled the first time.
Useful extras
- Notify if unreplied - alerts the addresses you list if an incoming email has had no reply after a set number of minutes.
- Add Signature and Footer Content - consistent sign-offs for every message from this account.
- Always BCC Address - keeps a copy of everything sent from the account in another mailbox.
Reading the Email Queue
Every outgoing message first goes into the Email Queue. A scheduled job sends queued messages and retries failures. Open the list and filter by status:
- Not Sent - waiting. If messages pile up here, check that scheduled jobs are enabled in System Settings.
- Error - open one and read the error. It usually names the cause: authentication, a rejected recipient, or a connection refused.
- Sent - delivered to your mail server. What happens next is up to that server and the recipient's.
From an Error entry you can use Retry Sending after fixing the account, and Send Now pushes a queued message without waiting for the job.
Try it
- On a test site, create one Email Account with outgoing enabled and Default Outgoing ticked.
- Email a sales invoice to yourself from the form.
- Open the Email Queue and follow the message from Not Sent to Sent.
- Break the password on purpose, send again, and read the Error entry. Then fix it and use Retry Sending.
Email setup and the notifications that depend on it are part of ERPNext Administration Without Code.