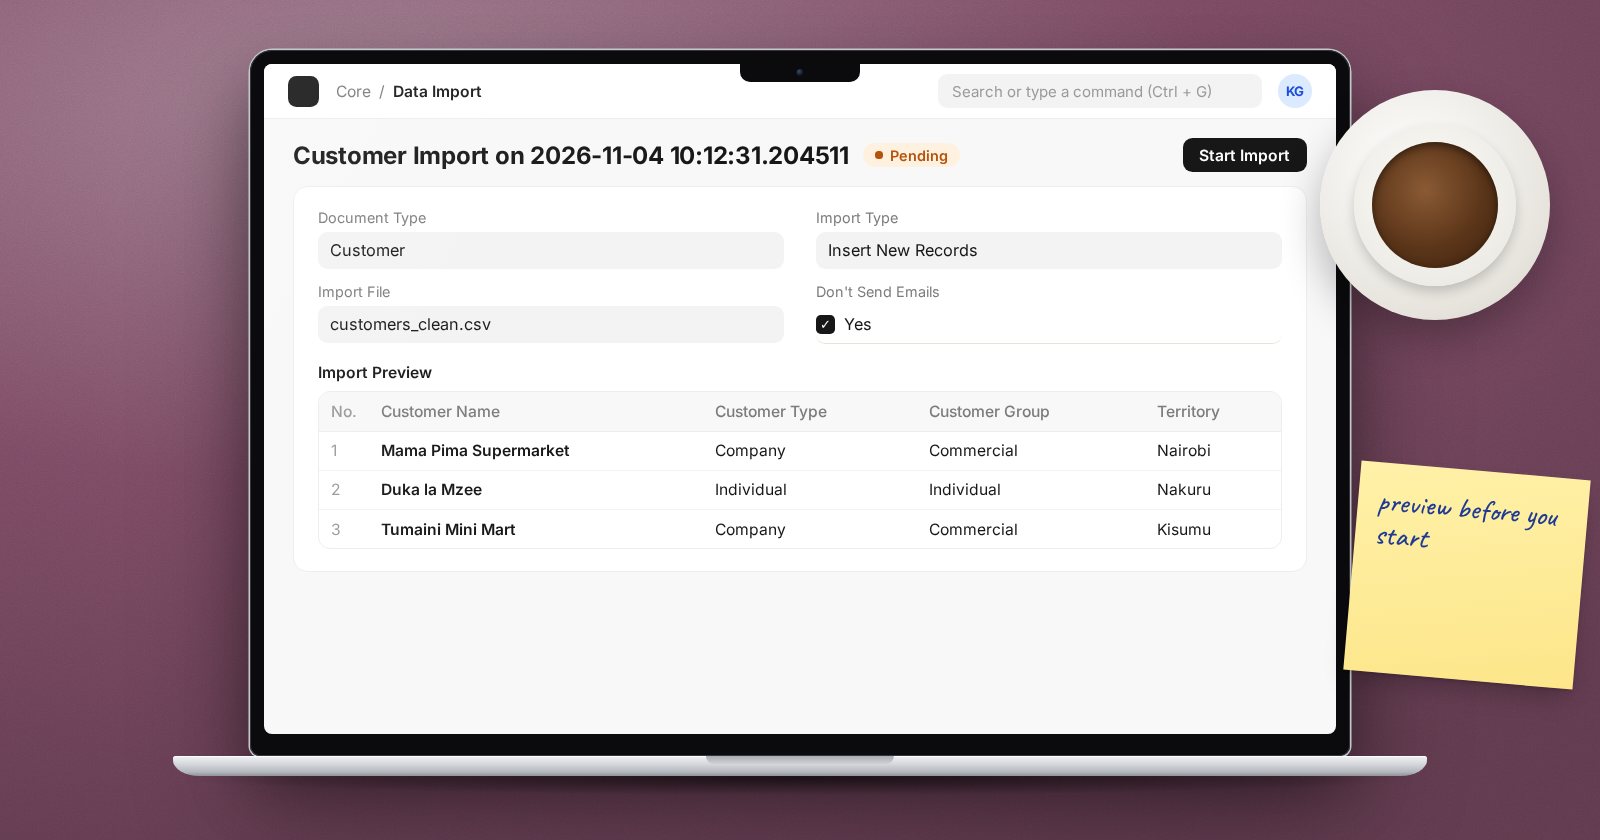
Data migration is where many ERPNext projects lose time. The tool itself is straightforward. The difficulty is in the order of loading, the quality of the source data and the discipline to test before the real load. This guide walks through a reliable approach using the standard Data Import tool.
What Data Import does
Data Import is a standard document in ERPNext. You choose a document type, such as Customer or Item, and an import type: Insert New Records or Update Existing Records. You can download a template, fill it in, attach it, preview the rows and start the import. Each run keeps an import log, and rows that fail can be downloaded with the Export Errored Rows button, corrected and imported again.
A few options are worth knowing:
- Don't Send Emails is ticked by default, so imports do not trigger notifications to customers or staff.
- Submit After Import submits documents as they are created. Leave it off until you are confident the data is right.
- Updating existing records needs the ID column, so the system knows which record to change. Export the records first to get their IDs.
For a custom chart of accounts there is a separate tool, the Chart of Accounts Importer, which has its own template.
Step 1: Decide what to migrate
Keep migration small. Most businesses need master data plus opening balances, not years of transaction history. Old history can stay in the previous system or in an archive file for reference.
Step 2: Load in dependency order
A record can only link to something that already exists. A sensible order is:
- Setup records: company, chart of accounts, cost centers, warehouses, units of measure
- Groups: item groups, customer groups, supplier groups, territories
- Price lists and tax templates
- Items
- Customers and suppliers, with their addresses and contacts
- Item prices
- Opening balances, which are covered in a separate step
If an import fails because a linked value does not exist, the order is usually the cause.
Step 3: Prepare the template properly
- Always start from the template ERPNext gives you, not an old spreadsheet
- Include only the columns you need, but keep every mandatory field
- Match linked values exactly, including spelling and capitals
- Use one format for dates and stick to it
- Remove blank rows and stray spaces before importing
Step 4: Test load on a copy
Run every import on a test copy of the system first. Check a sample of records by opening them, not only the count of successful rows. A record can import without errors and still be wrong, for example with the wrong unit of measure or item group.
Step 5: Read the log and fix the source
When rows fail, export the errored rows, read the messages, and fix the problem in your master spreadsheet, not only in the error file. Otherwise the same mistake comes back on the real load.
Step 6: Do the real load and verify
On the live system, follow the same order and the same files you tested. Afterwards, compare counts with the source and spot-check records with the people who own that data.
Common mistakes
- Importing with Submit After Import switched on before the data is checked
- Loading customers before customer groups and territories exist
- Using item names as IDs inconsistently across files
- Fixing errors in the error file but not in the master copy
- Skipping the test load because "it is only master data"
Checklist
- Migration scope agreed: master data and balances, not full history
- Import order written down
- Templates downloaded from ERPNext and filled from cleaned data
- Every file test-loaded on a copy
- Errors fixed at the source
- Live load followed by counts and spot checks
Clean master data is the subject of the Customers, Suppliers & Items course, and the full migration plan is part of the ERPNext Implementation Consultant course.