If you sell food, medicine, chemicals or anything else with a shelf life, you need to know which batch went where and when it expires. ERPNext handles this with batch-tracked items. The setup takes a few minutes per item; getting it wrong takes much longer to undo, because ERPNext does not let you switch batch tracking on or off once an item has transactions.
Step 1: Activate serial and batch numbers
In ERPNext v16, open Stock Settings, go to the Serial & Batch Item tab and make sure Activate Serial / Batch No for Item is ticked. On a new site this is off, and ERPNext will refuse to record batches until it is on.
Step 2: Set up the item
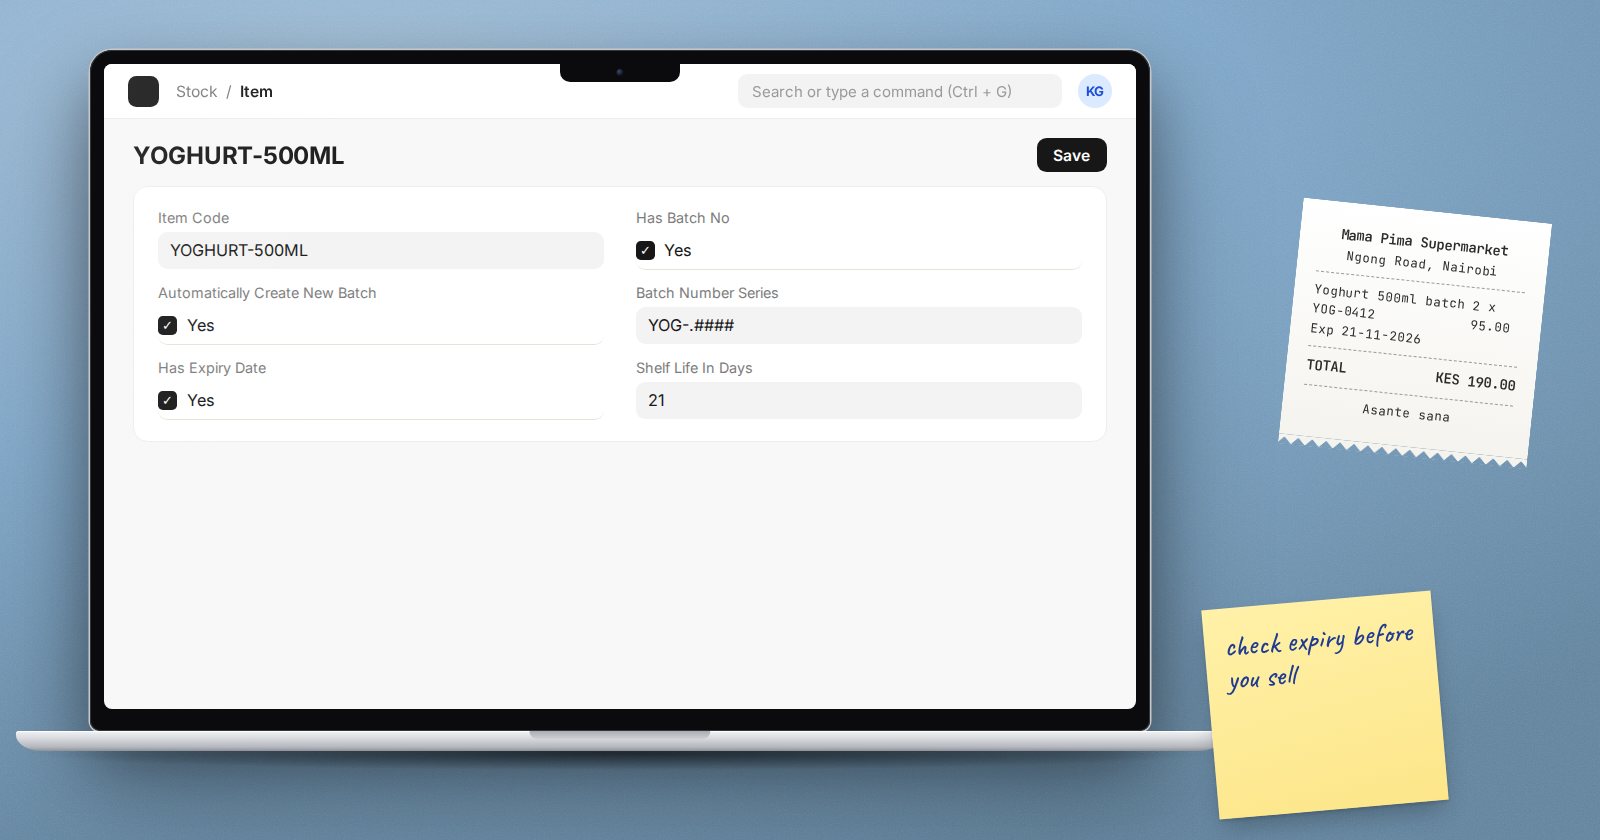
On the Item, Inventory tab, in the Serial Nos / Batches section:
- Tick Has Batch No.
- Tick Automatically Create New Batch so receipts create batches for you.
- Set a Batch Number Series, for example
LOT-.YYYY.-.#####. If you leave it blank, ERPNext can fall back to the Batch ID naming series in Stock Settings. - Tick Has Expiry Date if the product expires.
- Fill Shelf Life In Days on the same tab. When a batch has a manufacturing date but no expiry date, ERPNext calculates the expiry from the shelf life.
Do this before the first receipt. Once submitted transactions exist, Has Batch No cannot be changed.
Step 3: Receive with batches
On a Purchase Receipt or a Manufacture stock entry, each batch item row gets a batch. With automatic creation on, ERPNext makes the Batch record when you submit. If your supplier prints their own lot numbers and you want to keep them, create the Batch first with that Batch ID, its Manufacturing Date and Expiry Date, then select it on the receipt.
One receipt line can hold several batches. Split the quantity across them so the shelf and the system agree.
Step 4: Pick the right batch when issuing
In Stock Settings, Pick Serial / Batch Based On has three options: FIFO, LIFO and Expiry. For perishable goods choose Expiry, so ERPNext suggests the batch that expires first. With Auto create Serial and Batch Bundle for outward on, ERPNext picks batches automatically on Delivery Notes and stock entries if the user does not choose one.
Automatic picking leaves out batches that have already expired.
Step 5: Let ERPNext block expired stock
When a Delivery Note or Sales Invoice tries to issue a batch whose expiry date is before the posting date, ERPNext stops it with a message that the batch has expired. Returns are allowed through. This check does not apply to Stock Entries, so expired stock can still be moved to a quarantine warehouse or written off with a Material Issue.
Reports to use
- Batch-Wise Balance History: quantity per batch and warehouse over a period.
- Batch Item Expiry Status: batches with their expiry dates, to plan clearance before they expire.
- Serial No and Batch Traceability: where a batch came from and where it went, which is what you need for a recall.
Habits that keep batches clean
- Receive physically by batch: keep different lots apart on the shelf.
- Write the batch number on the bin label when stock is put away.
- Review Batch Item Expiry Status weekly and move short-dated stock first.
- Count batch items by batch, not just by item.
Checklist
- Activate Serial / Batch No for Item is ticked
- Has Batch No, Automatically Create New Batch and Batch Number Series set before the first receipt
- Has Expiry Date and Shelf Life In Days set for perishable items
- Pick Serial / Batch Based On set to Expiry for perishables
- Weekly expiry review in place
Batch, serial and valuation work is covered in the Inventory Professional course.