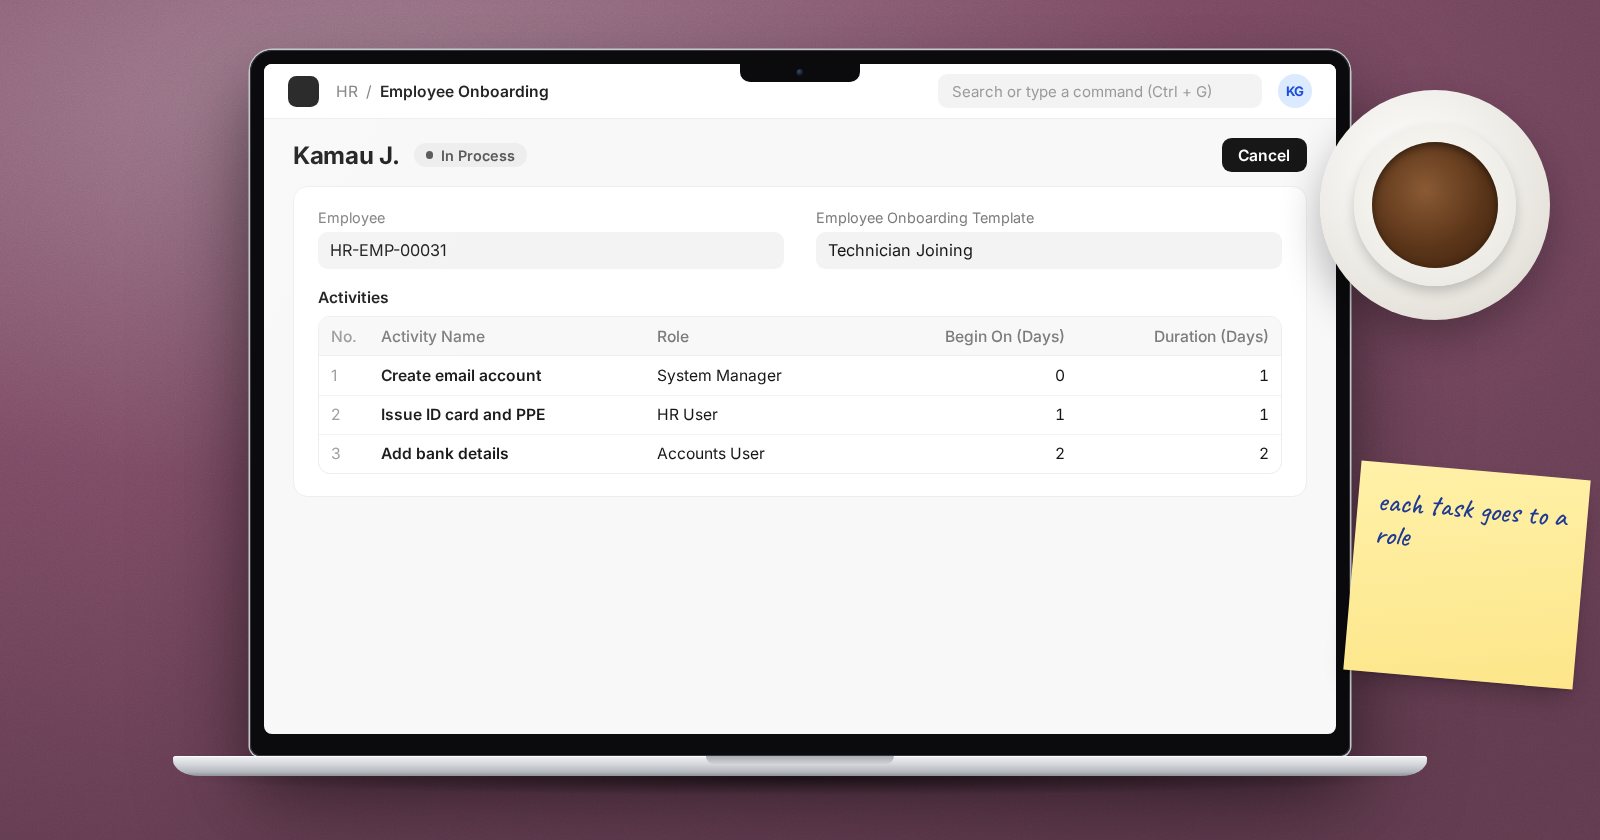
Joining and leaving both involve many small tasks spread across people: IT creates an email account, admin issues an ID card, finance sets up the bank details, the manager plans the first week. On the way out, the laptop must come back, access must be removed and the final pay worked out. ERPNext HRMS turns both into repeatable checklists that assign the tasks and track them to completion.
Templates first
Create an Employee Onboarding Template for each kind of joiner, for example office staff and field staff. A template can be tied to a Company, Department, Designation and Employee Grade. Each row in Activities has:
- Activity Name - what needs doing.
- User or Role - who does it.
- Begin On (Days) and Duration (Days) - when it starts relative to the joining date, and how long it takes.
- Required for Employee Creation - tick for tasks that must be done before the Employee record can be created, such as collecting identity documents.
The Employee Separation Template works the same way for leavers.
Running onboarding
Create an Employee Onboarding, usually from an accepted Job Offer so the Job Applicant carries across. Set the Date of Joining, Holiday List (used to schedule task dates around non-working days) and the template; the activities load from it. Submit it.
On submission, ERPNext creates a Project for this onboarding and a Task for each activity, with dates, assigned to the user or role. Everyone works from their own task list, and the onboarding's Boarding Status moves from Pending through In Process to Completed as tasks close.
Once all tasks marked Required for Employee Creation are complete, create the Employee from the onboarding. ERPNext refuses until then, which is the point.
Running separation
When someone resigns, create an Employee Separation with the employee, Resignation Letter Date and the separation template. Submitting creates a project and tasks just like onboarding: return equipment, revoke system access, hand over files, clear any advances.
Two further documents complete the exit.
Exit Interview
An Exit Interview records the date, interviewers, status and an Interview Summary. Its Final Decision field records either Employee Retained or Exit Confirmed. HR Settings can link a web form questionnaire and an email template so the leaver can respond online.
Full and Final Statement
The Full and Final Statement brings the money together. It needs the employee's Relieving Date to be set first. It lists payables (such as the last salary slip, expense claims, leave encashment or gratuity) and receivables (such as unsettled employee advances), plus assets allocated to the employee. Before it can be submitted, every payable and receivable must be marked settled, and every asset must either be returned or have its cost recovered.
Tips
- Keep activities specific: "Create email account" beats "IT setup".
- Assign to roles where possible, so templates survive staff changes.
- Review templates once a year with the people who do the tasks.
- Set the employee's status to Left with the relieving date as part of the separation, not weeks later.
Try it
Build a five-activity onboarding template with one required item, run it for a test applicant, and confirm that Employee creation is blocked until the required task is completed. Then open the project it created and see the tasks with their dates.
The employee lifecycle is covered in the HR Essentials course, and final pay in the Payroll course.