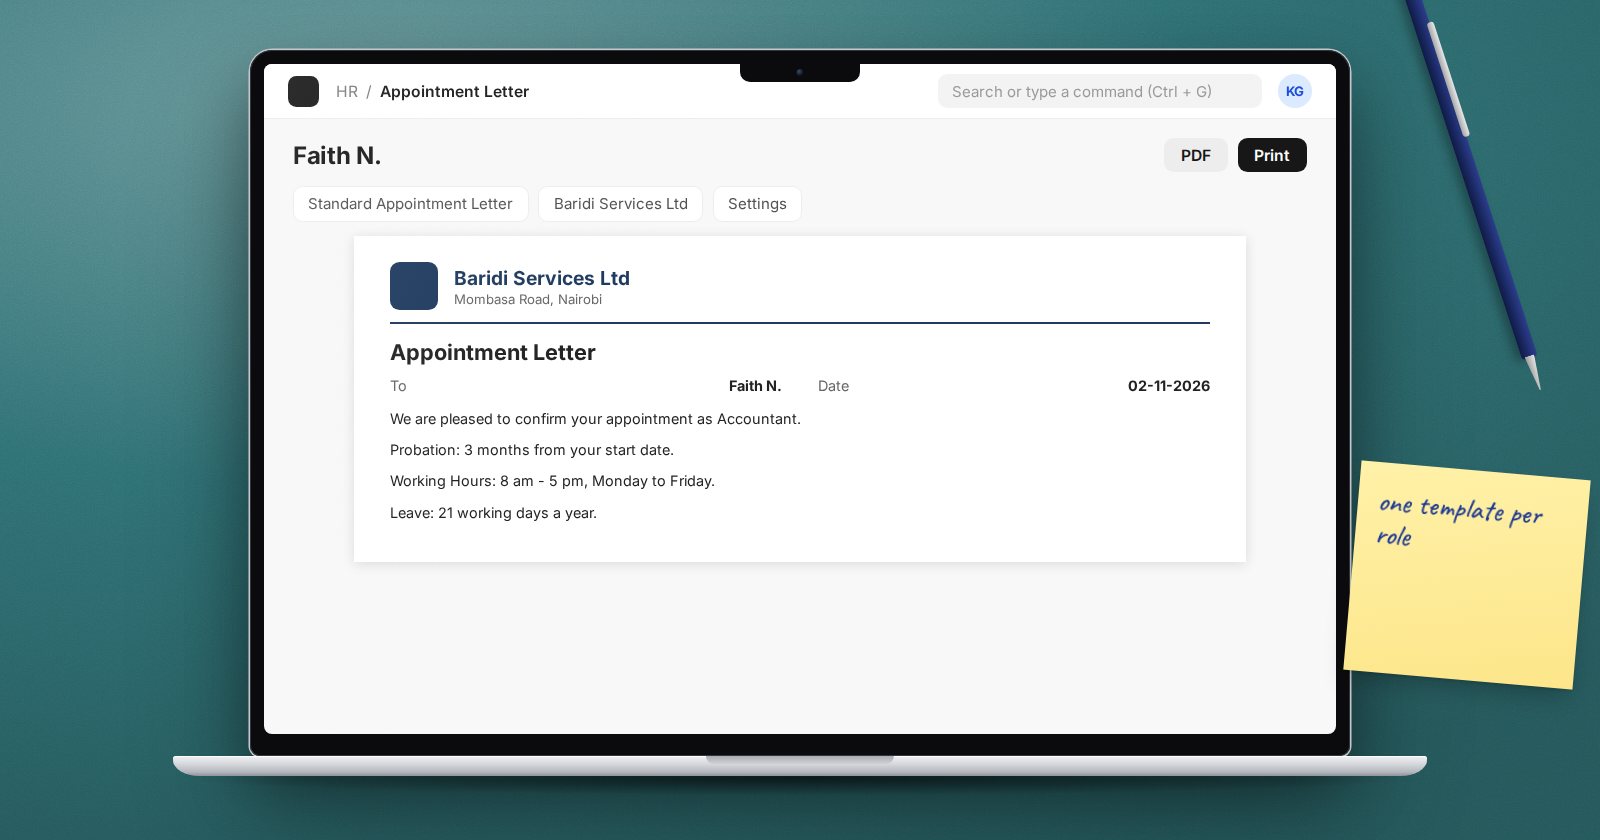
After the offer is accepted, the new hire needs a formal appointment letter. In many offices this is a Word file copied from the last hire, with the old name still hiding on page two. ERPNext HRMS keeps appointment letters as structured documents built from templates, so each letter is consistent, linked to the candidate and printed on your letterhead.
Offer or appointment letter?
ERPNext has both, and they do different jobs:
- A Job Offer proposes the role. It has a status (Awaiting Response, Accepted, Rejected) and its terms come from a Job Offer Term Template.
- An Appointment Letter confirms the appointment once the person has said yes. It has no approval status; it is a letter you print, sign and file.
Use the offer to get a decision, and the appointment letter to put the agreed terms on paper.
Step 1: build templates
Open Appointment Letter Template and create one per type of role, for example "Permanent Staff", "Fixed-Term Contract" and "Casual Worker". Each template has:
- Template Name - how HR will pick it.
- Introduction - the opening paragraph, such as "We are pleased to confirm your appointment...".
- Terms - a table of Title and Description rows. Typical rows are Position, Reporting To, Start Date, Probation, Working Hours, Remuneration, Leave, Notice Period and Confidentiality.
- Closing Notes - the closing paragraph and acceptance wording.
Write each term once, carefully, and have it reviewed by whoever handles your employment contracts. Kenyan employers should make sure the letter carries what their contracts and the law require; the template only stores the wording you give it.
Step 2: create the letter
From the Job Applicant, open the Connections area, where Appointment Letter sits beside Job Offer, or create a new Appointment Letter directly. Fill in:
- Job Applicant - the Applicant Name fills from it.
- Company.
- Appointment Date.
- Appointment Letter Template - choosing it copies the introduction, every term row and the closing notes into the letter.
Now edit the copied rows for this person. Replace placeholders such as "[salary]" with the actual figure, adjust the start date and remove terms that do not apply. Changes stay on this letter; the template is untouched.
Step 3: print and sign
Print using the Standard Appointment Letter print format. It lays out the applicant's name and date, the introduction, each term as a heading with its text, a sign-off for the company, your closing notes and a signature line for the applicant. Select your Letter Head in the print view so the letter carries your logo and address.
If your letters need a different layout, copy the print format and adjust it rather than editing the standard one, so upgrades do not overwrite your changes.
Attach the signed copy back to the Appointment Letter, or later to the Employee record, so it can be found in one click.
Good habits
- Keep figures out of templates. Put "[salary]" placeholders in the template so nobody sends last month's salary to this month's hire.
- Review templates yearly. Statutory items and company policy change; a stale template repeats the old wording on every letter.
- Restrict who edits templates. Give HR Users rights to create letters, but leave template changes to the HR Manager.
Try it
Create a "Fixed-Term Contract" template with five terms and a placeholder for salary. Make an appointment letter for a test applicant from it, fill in the placeholder and print it on your letterhead. Then open the template and confirm your edits did not change it.
The full hiring journey, from requisition to joining, is part of the HR Essentials course.